Brew It Right: How to Make the Perfect Cup of Coffee with a Chemex, AeroPress, French Press or Dripper
Brewing a great cup of coffee can be a rewarding experience when approached with the right methods and tools. Whether you're using the elegant Chemex, a pour-over dripper, the versatile AeroPress, or a French Press, each technique offers its own unique benefits and flavours. This guide will walk you through the steps for each method, so you can make each cup of coffee uniquely yours.
How to Make Coffee in a Chemex
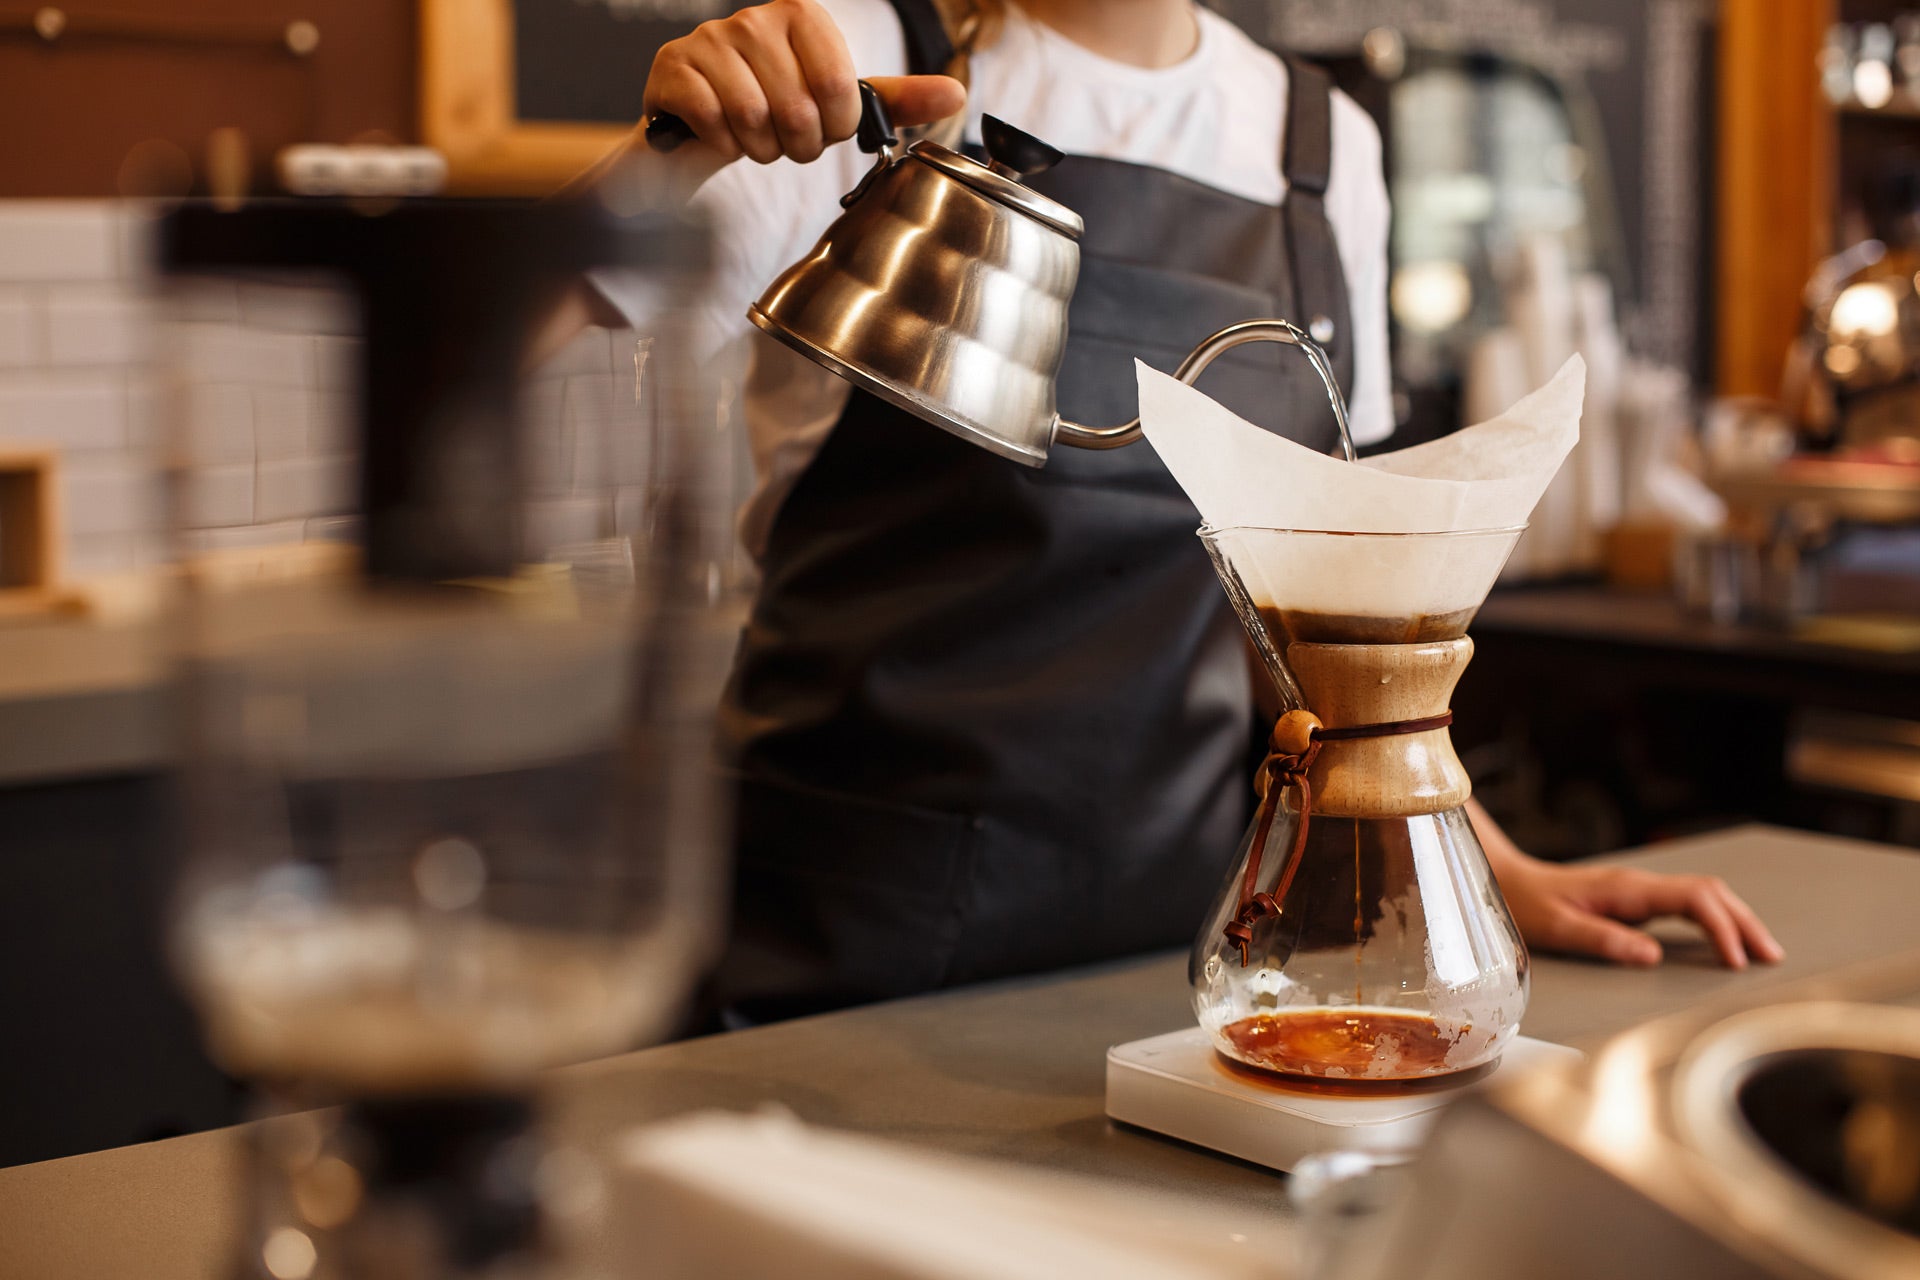
The Chemex coffeemaker was invented in 1941 by chemist Dr. Peter Schlumbohm and has gained a cult following since. Made of borosilicate glass wrapped in a wooden collar and rawhide tie, the Chemex design is simply iconic and hasn’t changed since 1941. For an even better tasting cup of coffee, the double-bonded Chemex filter was designed to allow for a longer brew for better flavour extraction. Follow the easy step-by-step instructions below to start brewing excellent coffee with your Chemex.
What You’ll Need
- Fresh coffee
- Fresh filtered water
- Chemex brewer
- Chemex filter
- Kettle
- Grinder
- Digital scale
- Timer
Yields: 2 Cups
Step 1
Boil 680g of fresh, filtered water and let it stand.
Step 2
Weigh out 48g of coffee and grind it to a medium-coarse grind resembling sea salt.
Step 3
Place the filter in your Chemex with the multilayer folds facing the pour spout.
Step 4
Pour hot water into the Chemex ensuring that the filter is fully saturated. This will help to rinse the filter and warm the Chemex. Discard the water.
Step 5
Pour your ground coffee into the filter and give the Chemex a light shake to ensure the coffee grounds are levelled.
Step 6
Place your Chemex on your scale and tare.
Step 7
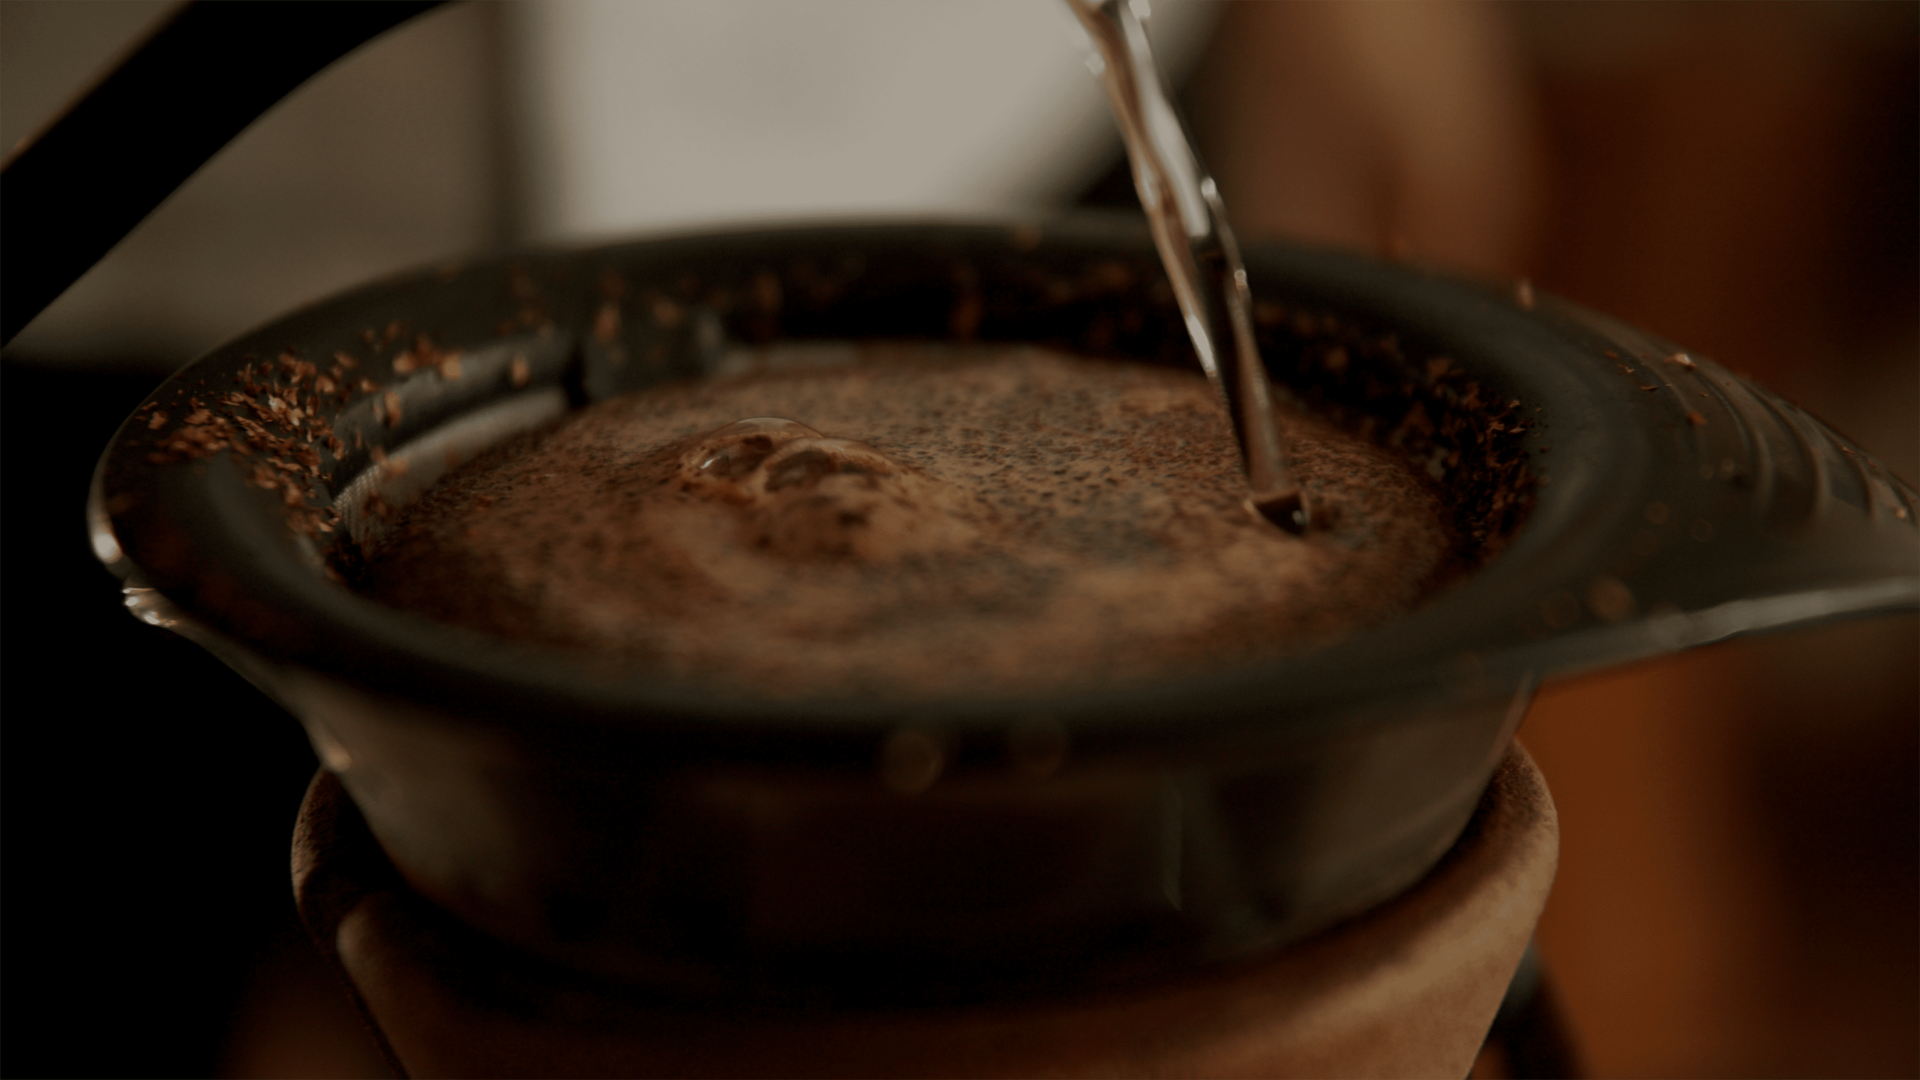
Start a timer. In a circular motion, pour just enough water so that the coffee is saturated, about 60g. Wait for 30 seconds before starting your next pour. This stage is called the “bloom.”
Step 8
After 30 seconds, start slowly pouring again in a circular motion, incorporating all of the coffee grounds. This is best done by alternating a series smaller and larger circular pouring motions. Pour until you reach a total weight of 680g.
Step 9
Allow the water to drip through all of the grounds to complete the brewing process. The brew should take about 4-5 minutes. If the brew was too fast or too slow, you can adjust the coarseness of the coffee grounds or pour rate. Sit back and enjoy your cup of coffee!
How to Make a Pour-Over Coffee
Whether you are using a V60 Dripper, Kalita Dripper or any other pour-over brewer, the joy is in the process. Sure you can use an electric coffee drip machine but a pour-over really gives you a chance to slow down and appreciate the art of making coffee. The pour-over brewing method allows you to have full control over coffee extraction for optimal flavour through water temperature, grind size and pour rate. Learn how to use your pour-over to make great coffee below.
What You’ll Need
- Fresh coffee
- Fresh filtered water
- Pour-over dripper (V60, Kalita 180, Bodum etc.)
- Filters (e.g., V60)
- Kettle
- Grinder
- Digital scale
- Timer
- Coffee cup
Yields: 1 Cup
Step 1
Boil 395g of fresh, filtered water and let it stand.
Step 2
Weigh out 24g of coffee and grind it to a medium-fine grind.
Step 3
Place the filter in your dripper and the dripper on your serving cup.
Step 4
Pour hot water into the dripper ensuring that the filter is fully saturated. This will help to rinse the filter and warm the dripper and cup. Discard the water.
Step 5
Pour your ground coffee into the filter and give the dripper a light shake to ensure the coffee grounds are leveled.
Step 6
Place the loaded dripper and cup on your scale and tare.
Step 7
Start a timer. In a circular motion, pour just enough water so that the coffee is saturated, about 50g. Wait for 30 seconds before starting your next pour. This stage is called the “bloom.”
Step 8
After 30 seconds, start slowly pouring again in a circular motion, incorporating all of the coffee grounds. This is best done by alternating a series smaller and larger circular pouring motions. Try not to pour the water against the side of the dripper as that dilutes the brew. Pour until you reach a total weight of 395g.
Step 9
Allow the water to drip through all of the grounds to complete the brewing process. The brew (pour and extraction) should take about 1 1/2 minutes. If the brew was too fast or too slow, you can adjust the coarseness of the coffee grounds or pour rate. Sit back and enjoy your cup of coffee!
How to Make Coffee in an AeroPress
If you have an AeroPress, chances are you’ve heard nothing but amazing things from the diehard AeroPress fans. The AeroPress was invented in 2005 by Stanford University engineering lecturer Alan Adler. It uses a full immersion brewing method and is loved for the high quality coffee it produces. The compact and durable design also makes it the best travel brewer so you can make great coffee no matter where you are. Learn how to brew coffee using the AeroPress by following the instructions below.
What You’ll Need
- Fresh coffee
- Fresh filtered water
- AeroPress (including the funnel)
- AeroPress Filters
- Kettle
- Grinder
- Digital scale
- Timer
- Stirring tool
- Coffee cup
Yields: 1 Cup
Step 1
Boil 225g of fresh, filtered water and let it stand.
Step 2
Weigh out 22g of coffee and grind it so that it is slightly finer than sea salt.
Step 3
Place the filter into the AeroPress filter cap and twist filter cap onto the AeroPress chamber.
Step 4
Pour hot water through the filter, fully saturating it. Discard the water.
Step 5
Stand the AeroPress chamber on a sturdy mug. Using the AeroPress funnel, pour your ground coffee into the chamber making sure not to spill grounds onto the ring-gutter at the top.
Step 6
Place the loaded AeroPress and mug together on your scale and tare the scale.
Step 7
Start a timer. Pour about 44g of hot water into the chamber making sure to saturate the coffee evenly. Allow coffee to bloom for 30 seconds and then pour the remaining hot water into the chamber bringing the weight to 220g.
Step 8
At the 1 minute mark, stir the coffee for about 10 seconds. Stir again at the 1.5 minute mark.
Step 9
Remove the AeroPress and mug from the scale, insert plunger into AeroPress and press down gently until the plunger reaches the ground coffee. Do not do this on your scale! This should take about 30 seconds.
Step 10
Remove filter cap, push plunger to discard used coffee grounds and rinse your AeroPress. Sit back and enjoy your cup of coffee!
How to Make Coffee in a French Press
The French Press is probably one of the most popular brewing methods after an automatic coffee machine. The French Press uses a full immersion brew with a metal mesh filter. The mesh filter allows more of the oils to be left in the final brew which will give your coffee more body and texture. Learn how to use the French Press to brew great coffee below. To watch the video, click here.
What You’ll Need
- Fresh coffee
- Fresh filtered water
- French press
- Kettle
- Grinder
- Digital scale
- Spoons
- Timer
- Coffee cup
Yields: 2 Cups
Step 1
Boil 445g of fresh, filtered water and let it stand.
Step 2
Weigh out 30g of coffee and grind it to a medium-coarse grind resembling seasalt.
Step 3
Pour your ground coffee into the French Press.
Step 4
Place the french press on a scale and tare.
Step 5
Start a timer. Pour just enough water so that the coffee is saturated, about 60g. Wait for 30 seconds for the coffee to “bloom.”
Step 6
Pour the remaining water into the French Press bringing the total weight to 350g and give it a gentle stir with a spoon. Place the lid back on the French Press and let the coffee steep for 4 minutes.
Step 7
At 4 minutes, press the filter plunger down. Pour a cup and enjoy.
No matter which method you choose, each one can make your coffee experience special in its own way. Have fun during the process, experiment with flavours, and most importantly, enjoy every cup. Happy brewing!


